Showing posts with label spices. Show all posts

Thursday, April 20, 2017

Fruit leather

We picked 20.5 pounds of blueberries so far this summer and with the encouragement of my midwife friend Abby I made leather last night and I am sold! I am already saving my pennies so I can buy the industrial dehydrator from Cabellas!


Until the time comes that I can afford it, I will have to live vicariously through the graces of a friend. Thanks Abby! Here comes the tricky part though as Abby needed to walk me through it because she is the kind of genius that does things in her head and hates following recipes. I am only able to do that after I have made it once or twice and THEN I can tinker. Because of this, Abby walked me through the entire process up until the dehydrating part, because then it is just an aspect of time. Through this process, I have cobbled together a list of ingredients but the amounts are entirely NON-SPECIFIC because you truly can not F up fruit leather.

Ingredients

lots and lots of Berries (any kind will work but blueberries are the best and strawberries make a different type even though I used a pint in this leather.)
1 orange
the zest of the orange
a dash lemon juice
a pinch of salt
a couple table spoons maple syrup
1 TB cinnamon
1 TB nutmeg
a small amount of ground cloves (careful as this concentrates over time)
1 tsp dried ginger - to taste so be moderate
1 TB Vanilla
a dehydrator
parchment paper


Directions

1. Fill pot with Berries


2. Add the Juice of a large orange


3. Macerate the berries as you bring it to a slow boil over a low heat.
Let it soften up and get nice and happy.


4. Start adding your spices


5. Bring to a boil and stir requently.  Let it get nice and hot and happy and bubble away.  over medium heat at a rolling simmer.


6. As it thickens let it cool down a bit and then turn off for 30 minutes. Stir periodically until it stops steaming when you stir. During this time, get the dehydrator shelves ready and cut parchment paper to size to cover the shelves. Here's Abby helping.


7. In batches, run the berries through quick bursts in the blender. You want a think chunky mixture as it binds together better in making leather. This was my first round and it was a bit too thin.


8. Pour a generous circle of mixture of center of parchment paper covered tray and smooth out with a rubber spatula until it is spread into a uniform shaped layer.


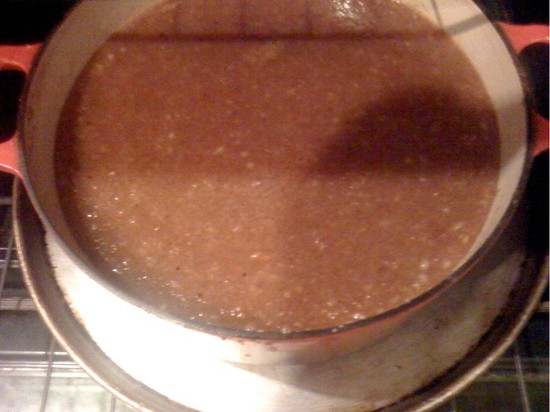
9. When layer is even and covers the paper like the picture above, put shelve into the dehydrator and continue with the remaining berry mixture.


Leather dries in the dehydrator until dry when it no longer is tacky/sticks to your finger when touched.

Here are a few picture of me having my hand in it.


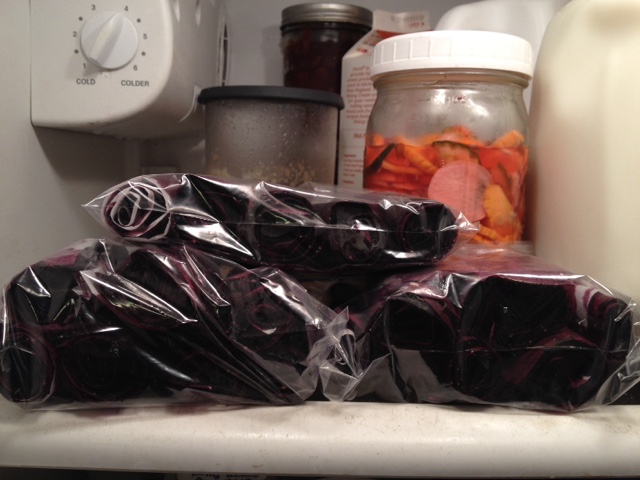
10. The final step is to cut the parchment paper into equal long strip and roll the leather fruit side in into roll ups and store in a plastic bag in a refridgerator until gone and it is time to make some more!
Friday, November 8, 2013

Apple Butter

This is my favorite apple butter recipe of all. It is from the book Preserving the Harvest. I have blogged about it before at this link.

Ingredients
10 large tart apples
2 cups apple cider
3-5 cups sugar
3/4 tsp. ground cloves
1/2 tsp ground all-spice
3 tsp. ground cinnamon
1/2 tsp. ground nutmeg

Process


1. Wash, core & quarter apples.

2. Combine apples and cider in oven safe pot on top of stove.

3. Cook slowly in cider until tender.


4. Blend in batches in the blender.


5. Return mixture to pot.
6. Add sugar and spices and stir to combine.
Place in oven.


7. Cook in 350°F oven, stirring often. Test for desired thickness by spooning mixture onto a cold plate. If no liquid oozes around edges, it is thick enough.
8. Ladle into jars. Process 10 minutes or freeze.

Tuesday, February 15, 2011

Curried Chickpeas

Goya Chick Peas 15.5oz 

This recipe will serve 10 or otherwise makes great leftovers. I modified it from the prior post to suit my tastes, and I am proud to call this recipe my own. Feel free to cut in half for your family, our double again for a larger group. It is SO yummy! Goes well on it's own, stuffed in pita pockets or as a side with My Indian Chicken Strips.

Ingredients
6 T oil - or enough to cover the surface of the skillet
2 onions, chopped
3 large cloves garlic, minced
3 Tablespoons (or more!) curry powder
1 teaspoon cinnamon powder
1/4 to 1/2 teaspoon ground cloves
3 cans chick peas, rinsed and drained
2 Tablespoons or more tomato paste
A squirt or two of all natural/organic ketchup (helps thin and add flavor)
a couple pinches of salt and pepper
1/2 cup water (plus more for the end if needed)
1 cup (or more) plain yogurt
Cilantro, chopped
lemon Wedges
Whole Wheat pita pockets if desired

Process

  1. In a large skillet over medium-high flame, heat oil.
  2. When oil is hot, add onion, and cook stirring occasionally, until it starts to soften and become translucent.
  3. Add the garlic, stir, and continue to cook for about 5 minutes.
  4. Add curry, cinnamon, and cloves, and stir allowing to cook until mixed and fragrant.
  5. Add the chickpeas and stir.
  6. Add tomato paste and ketchup, stir and allow to heat a bit.
  7. Add the water and stir to even out sauce on beans.
  8. Season with salt and pepper.
  9. Add the yogurt and stir and allow to come to temp. Add more yogurt or water, or even ketchup or spices, to adjust sauce to your liking.
  10. Add chopped cilantro and stir, continuing to heat for 5 minutes.
  11. Remove from heat and serve with lemon slices and pita pockets, or as a side with my Indian Chicken Strip recipe.